This week in Orchard - 8/30/2018

Good news for the beginners of Orchard Core! This week you could learn about how to build a new theme for Orchard Core from scratch!
On Orchard 1.x
If you haven't read the latest post: the latest version of Orchard 1.x (Orchard 1.10.2) released on Apr 27, 2017. The community fixed several bugs since then, so the next release of Orchard 1.x will be arrive soon. We would like to have a working Dynamic Compilation with C# 7 for the next version and Lombiq is working on this issue. After that, the community will release Orchard 1.10.3.
On Orchard Core
Field settings editors
Orchard Core has several fields, for example the Enumeration Field. The issue with these kinds of fields was these fields would be like a new field just to be able to show different editors. For example, if you create a new text field you will be able to select the standard editor or the text area. They are extensibilities for this field to be able to get custom editors. In the case of the enumeration field the editor now is not sufficient, because the community wants to customize the editor itself. Maybe the editor could be a check box list, but sometimes it could be just a simple selection from multiple elements, but in the end, we just have one value, so it's really a text field with an editor that shows multiple possible value.
What about having a new way when creating custom editors? Orchard Core introduces a new notion, called settings editors. Till now, you can select editors for your field that could have multiple type of editors. Then each editor might require settings to customize the UI of this editor.
Now any field can be extended with custom editors and any module can provide custom editors for any type of fields. A field just need to focus what it stores and not about how its edited. So, editors should be about how do we edit different kind of fields. Let’s see a short demo to make this clear!
Demos
Field settings editors
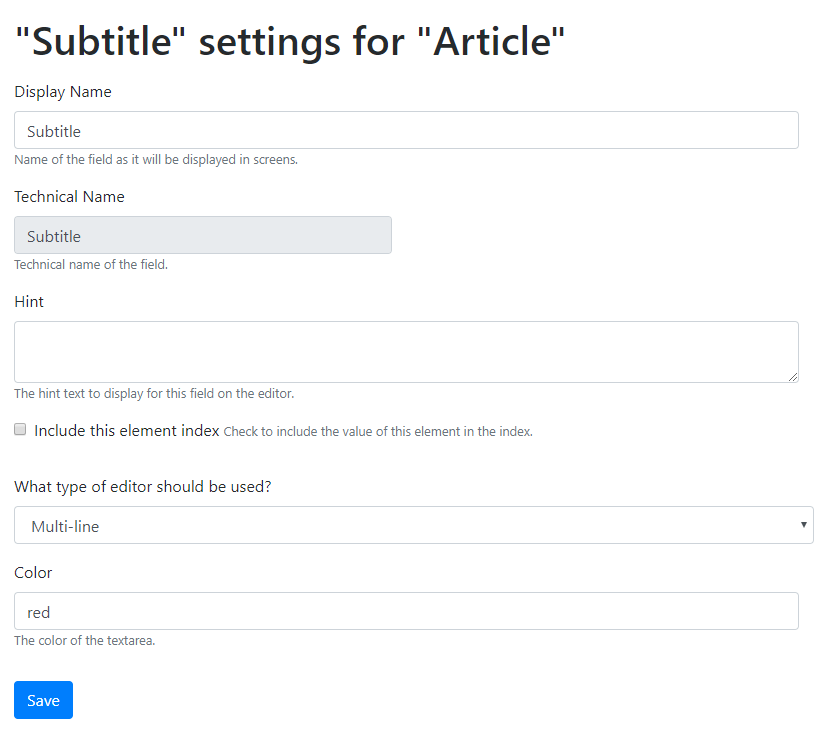
Let's have a content type called Article with a Subtitle Text Field. If we select the Multi-line option under the What type of editor should be used? dropdown, you will see a new option called Color.
This is a setting for the editor. So, the content field itself is a text field, that has access to multiple type of editors and here Color is just an example here. Let's write red here.
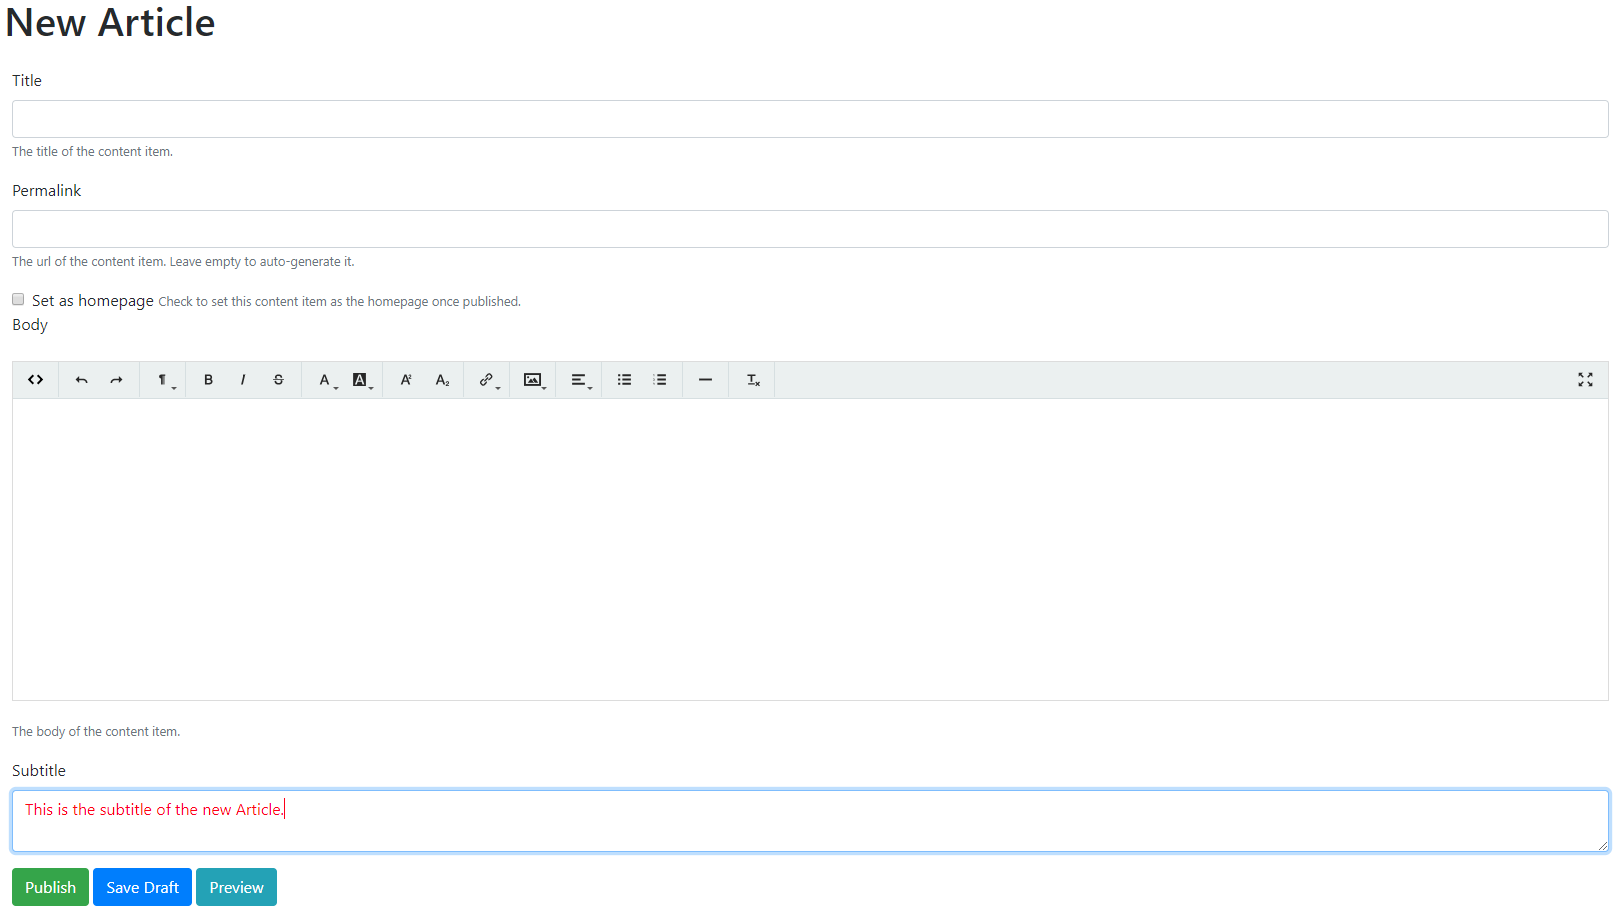
After that let's create a new Article. Here we can see the Subtitle field, that is multiline. When we type something here it will be red, because this editor will look at its settings to customize the rendering of the editor.
The field editor settings are available in the fieldeditors branch.
If you are interested about how the community implemented this feature or how you can create new field settings editors, watch the demo about the field editor settings in the recording of the latest Orchard Podcast.
Building a theme for Orchard Core from scratch
Let's see a possible way about creating a new theme for Orchard Core from scratch based on az existing Start Bootstrap theme, called the Creative theme.
If you are using code generation, you can generate a new theme by typing
dotnet new octheme -n "ThemeName.OrchardCore"as you can see it in the documentation.
For this, you have to install the Orchard Core Cms templates by doing
dotnet new -i OrchardCore.Cms.Templates::1.0.0-beta2-*You can also find this command in the same Read the Docs page.
But for now, we will only just look at what is the content of an existing project file and simply copy it. To do that, fire up Visual Studio and add a new Class Library (.NET Standard) typed project to your OrchardCore.Themes folder, but don't forget that you can put it anywhere. You can delete the Class1.cs file. To do that, open the csproj file of a theme and overwrite the content of your csproj file with it.
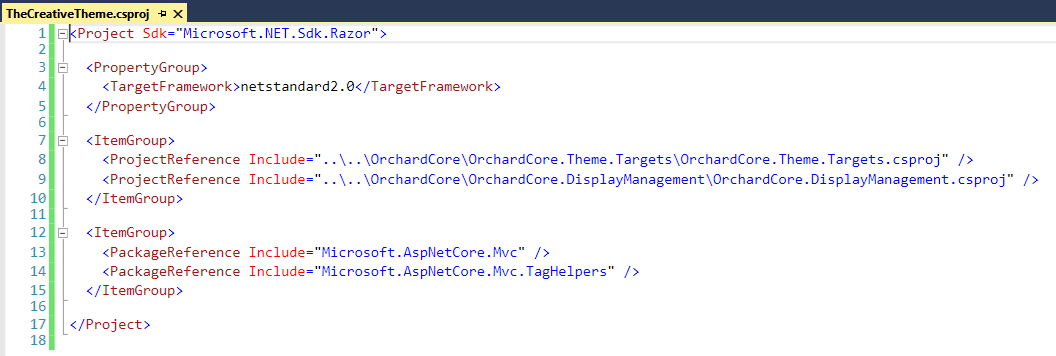
You can remove everything that doesn't exist now and just have the following project references:
- OrchardCore.Theme.Targets: this is require to mark the project as being a theme. It will include some properties that will make it a theme.
- OrchardCore.DisplayManagement: we will need it, because we will create views and we want to inherit from a Razor base view or will need some tools that are only in display management.
- Microsoft.AspNetCore.Mvc and Microsoft.AspNetCore.Mvc: we need those for Razor views.
After that we need to create the Manifest.cs file. We can copy this file from an existing theme and modify it.
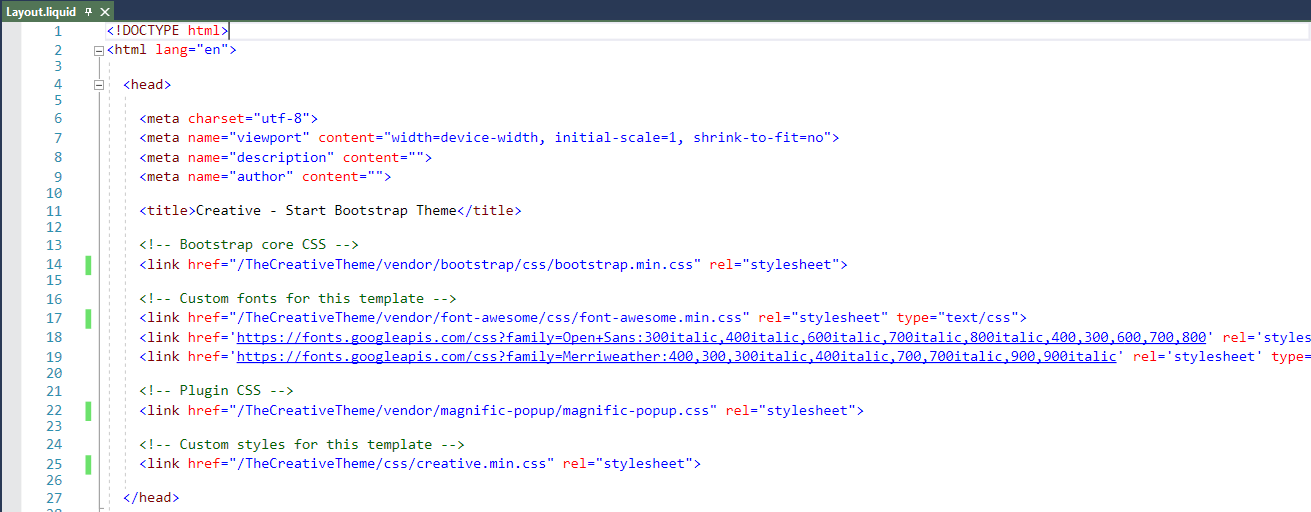
The wwwroot folder will serve to store all the static files of this theme. So, add this folder to your project with the Views and Recipes folder.
The web app won't be able to load any module that isn't referenced. So you have to add your project as a reference to OrchardCore.Cms.Web project. You can do it in a simple way by just adding a reference using Visual Studio's Add Reference... option.
If you want to add a reference to a file that is inside the wwwroot folder, you have to prefix the path of the files with the name of the project.
Change the theme to pick up dynamic content and dynamic assets
The render_section Liquid tag
It's easier to understand the working of the tags by an example:
{% render_section "HeadMeta", required: false %}The tag will inject a resource that is needed to be injected, so this will include the HeadMeta. The required: false means that if nothing is injected that's fine, but required: true means there must be something or it will fail.
In the lines above we just give you the first few steps about how to start to build your theme. If you are interested in how to create a new theme from scratch in Orchard Core, you should definitely watch Sébastien’s live demo about it. At the end of the video, you will have a great, brand new theme!

By watching the recording, you will also learn more about the different Liquid tags that you can use in Orchard Core!
On Lombiq
DotNest developer survey
We at Lombiq want to make DotNest the best developer-focused Orchard hosting platform around and we can't thank you enough for taking the time to help us understand the best way to do that. If you would like to help us, please fill our short DotNest developer survey.