How to add import/export to an ASP.NET Core app? - Orchard Core Nuggets
When working with an ASP.NET Core application, it’s often necessary to move various content or configurations between different environments or back up critical information. Whether you’re setting up a new site, migrating content, or synchronizing data across multiple instances, the Orchard Core Deployment feature can simplify the process. This feature provides an easy solution for importing and exporting data.
Are you new to Orchard Core? It's a great open-source framework and CMS built on ASP.NET Core. Check out the official getting started docs.
Let’s say you manage multiple sites for clients. You might have a standard set of content (like sample blog posts, landing pages, or settings) to help clients get started. With Orchard Core Deployment, you can create these once, export them, and import them into each new Orchard Core instance to streamline the onboarding process. A similar example would be to move content or configuration between a staging and production app.
To get started, go to Configuration → Features and search for “Deployment”. Some features will also enable others explicitly. We will go through each feature and explain what they do.
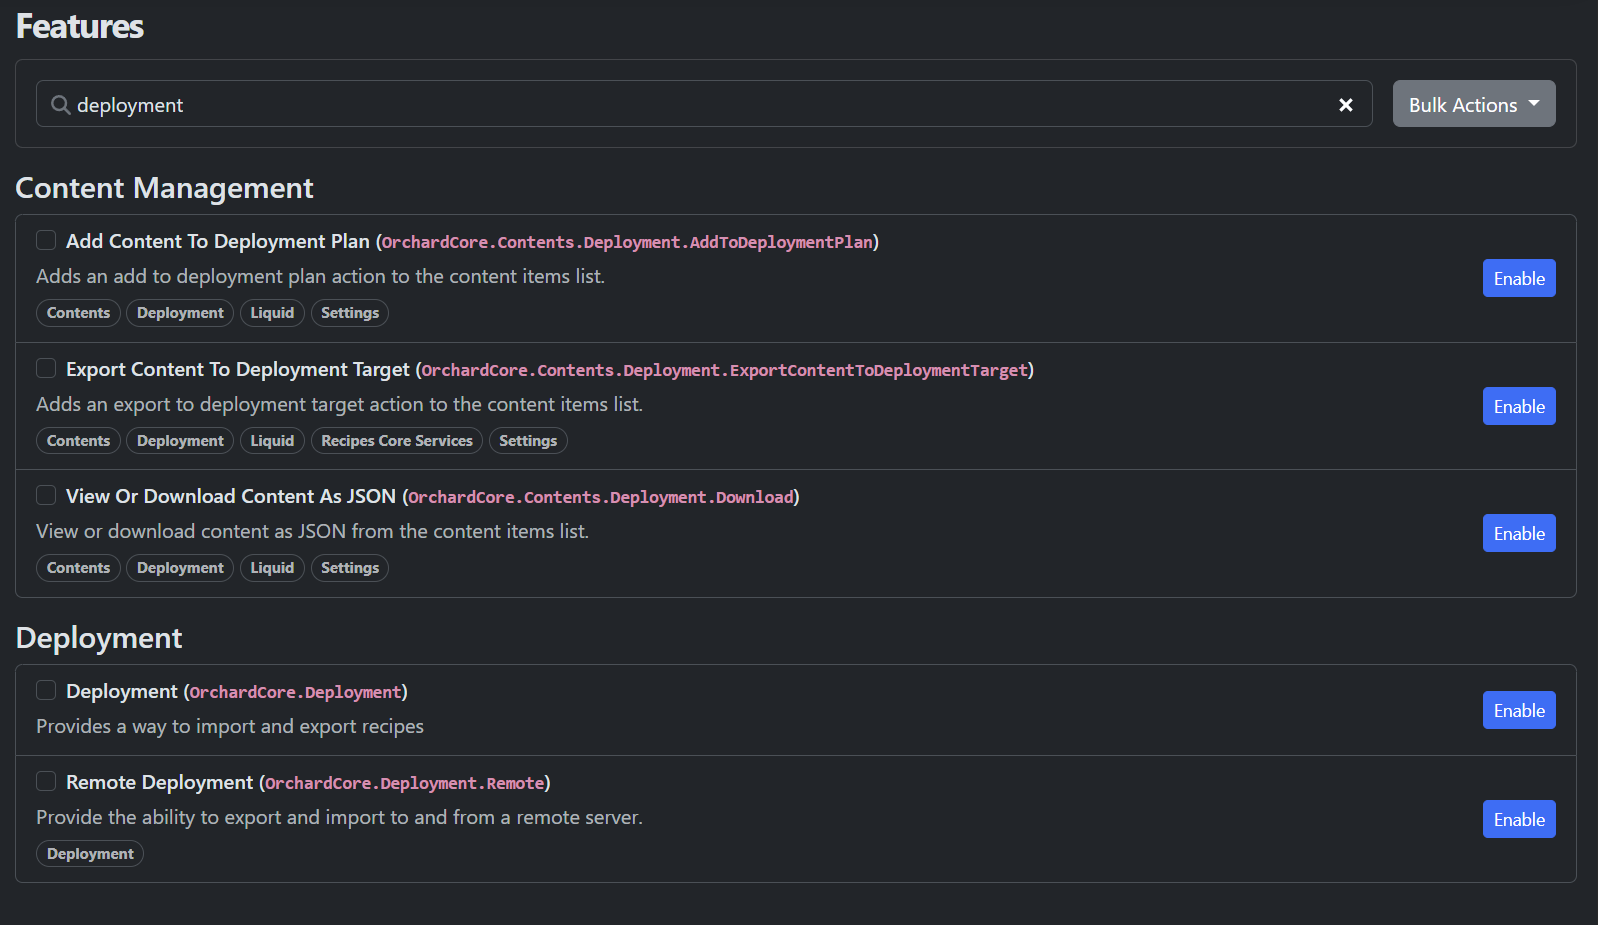
Deployment: Offers a framework for importing and exporting recipes, JSON files containing configuration and content. This feature is the foundation of deployment (how we call export-import) in Orchard Core, allowing for the structured export and import of content, technical configuration, and user-editable settings for entire sites or specific components.
Remote Deployment: Extends the deployment feature by allowing content export and import to and from a remote server. This feature is useful when managing Orchard Core installations across multiple environments, enabling direct deployment to remote instances, without downloading and uploading JSON files.
Add Content To Deployment Plan: This feature adds an action in the content item action list to include specific content items in a deployment plan. This is useful when you want to select specific items to deploy without including the entire site’s content.
Export Content To Deployment Target: Adds an option to the content item action list that allows you to directly export content items to a specified deployment target (including downloading the recipe, thus basically the content item inside a JSON file locally).
View Or Download Content As JSON: Provides an action in the content item action list to view or download content as JSON files. This feature is helpful for reviewing content item details or troubleshooting.
Here is an example of all the content item list actions that are added by these features:
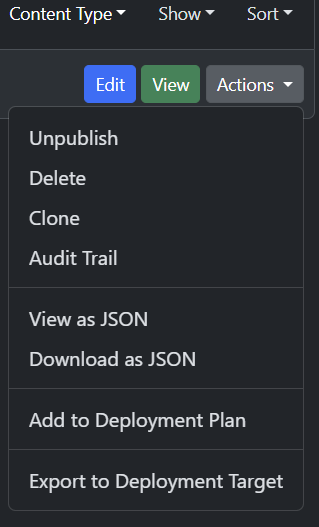
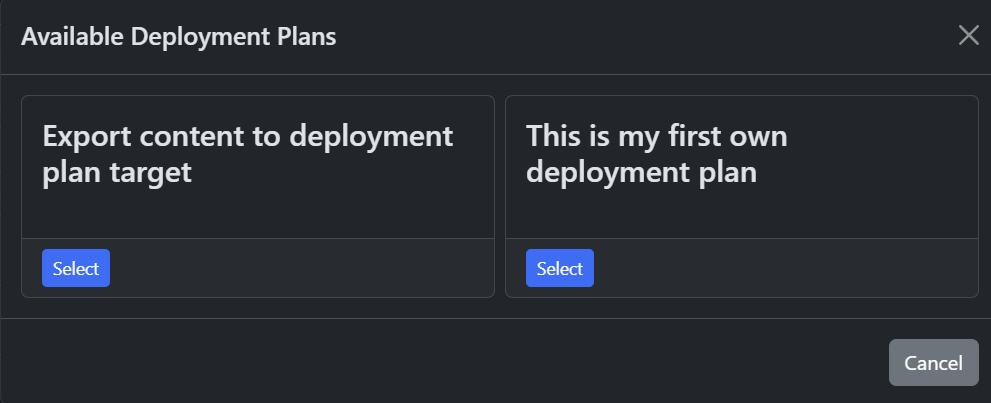
These actions focus on single content items and they are really simple. “View as JSON” and “Download as JSON” options are self-explanatory. If you select “Add to Deployment Plan” you will get a list of your current deployment plans and a default one will be created (“Export content to deployment plan target”):
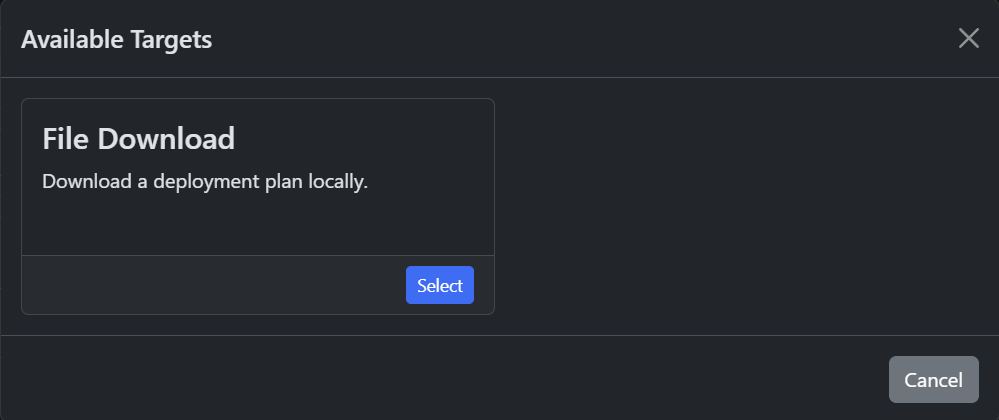
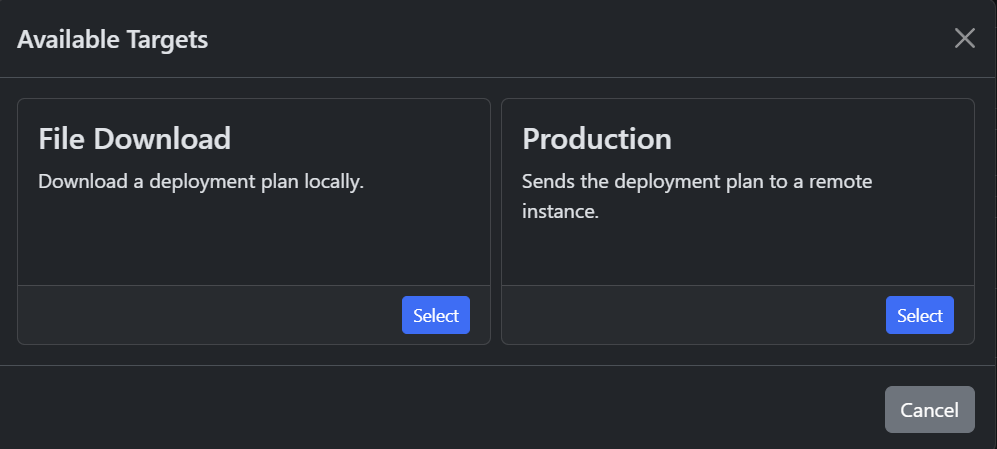
“Export to Deployment Target” will list the deployment targets. The default one is “File Download”:
But what is a deployment plan? It’s a collection of steps that together produce a recipe JSON file. You can have multiple deployment plans. Let’s create one! Go to Configuration → Import/Export → Deployment Plans. Here you can see your deployment plans, rename them (with “Edit”), delete them, and modify them (“Manage Steps”).
image alt="Deployment plans inside menu"]BlogPost/orchard-nuggets/2024/how-to-add-import-export-to-an-asp-net-core-app/deployment-plans-inside-menu.png[/image]
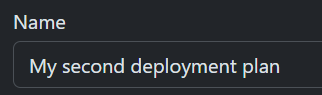
Click on the “Add Deployment Plan” button. Here you can name your new deployment plan.
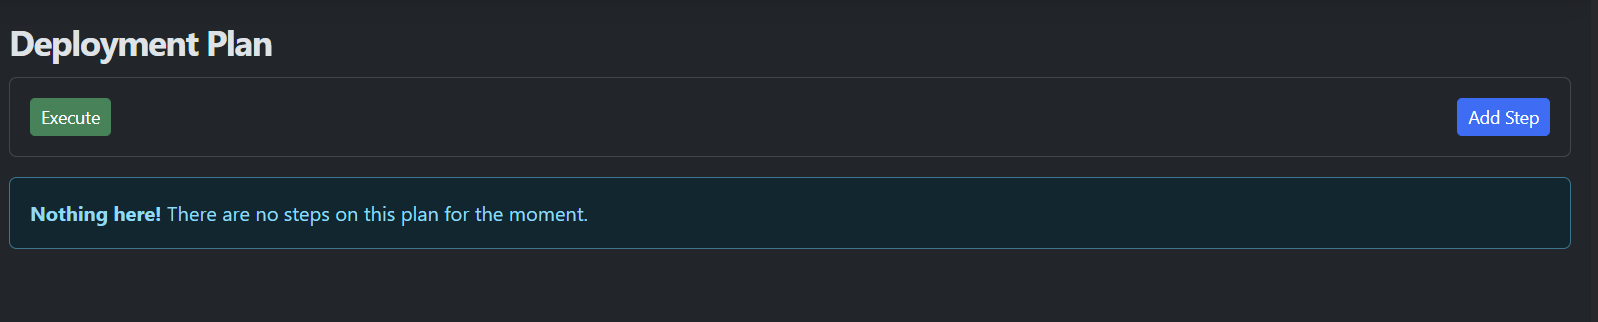
After that, you can create the plan, and then you will see it in the list. Now click on the “Manage Steps” button for your deployment plan. You will see this screen, but it’s empty since you need to click on the “Add Step” button to add steps:
Here you will see all the available steps:
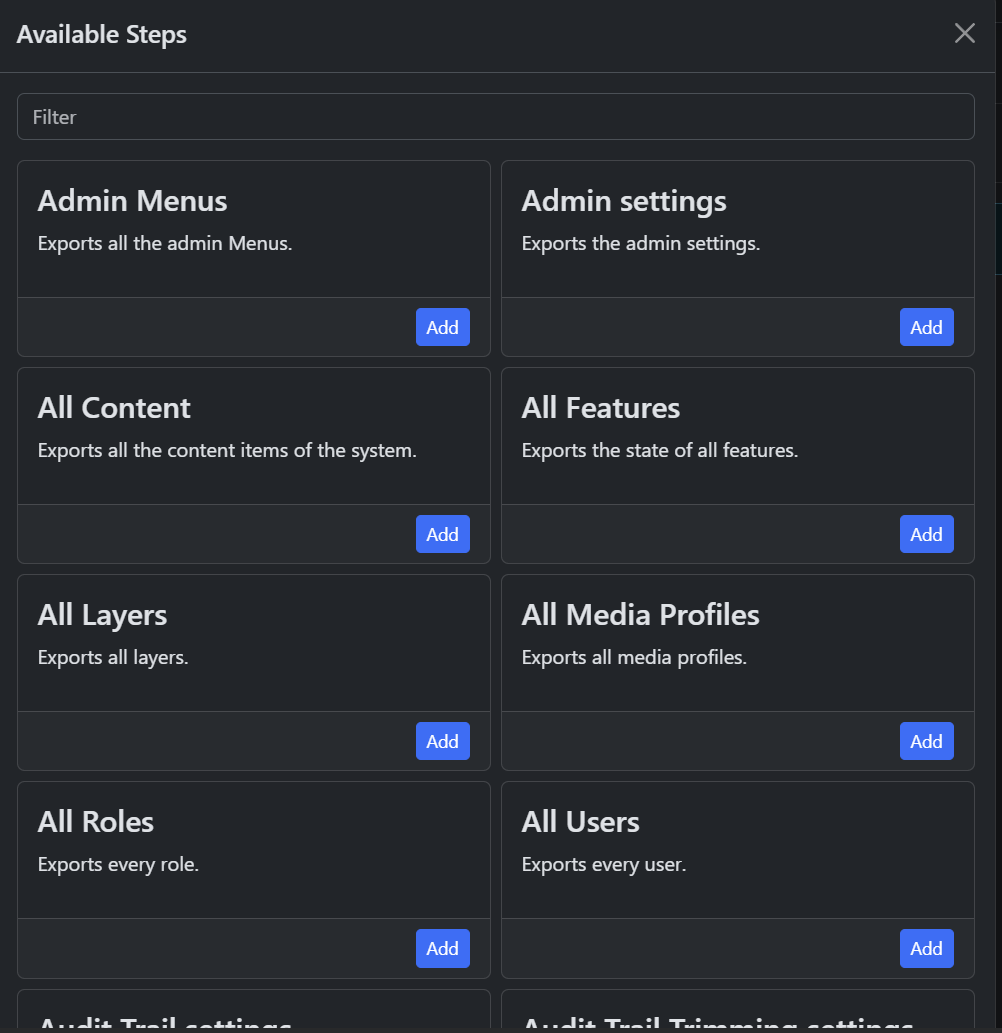
They have descriptions, but just to name a few important ones:
All Content: Exports all the content items of the system.
Content: Exports all content items for specified content types.
Content Item: Exports a specified content item.
All Features: Exports the state of all features, ensuring the same features are enabled or disabled across sites.
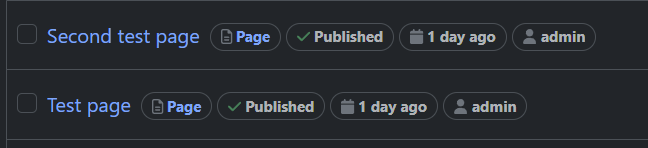
We have two Page content items in our case, so let’s export those with the “My second deployment plan”.
Add the “Content” step. Then select the Page content type. Additionally, you can check the “Export As Setup Recipe” option if the data should be exported as a Setup recipe. A setup recipe in Orchard Core is a JSON file that contains instructions for setting up content, configuration, and features on a new or existing Orchard Core instance, structured to automate the setup of a site. It’s almost the same as a recipe that you can export with the Deployment feature, just it needs to contain everything to set up a site, not just e.g. a couple of pages.

After that, you can add the step by clicking on “Create” and execute the plan with “Execute”:

When executing you can again select the target. The default option here is the previously mentioned “File Download” to download the deployment plan locally. This will download a ZIP file that has the “Recipe.json” file inside. This will contain in our case all the page content items.
Okay, but how do you import? Go to Configuration → Import/Export. You will have multiple options:
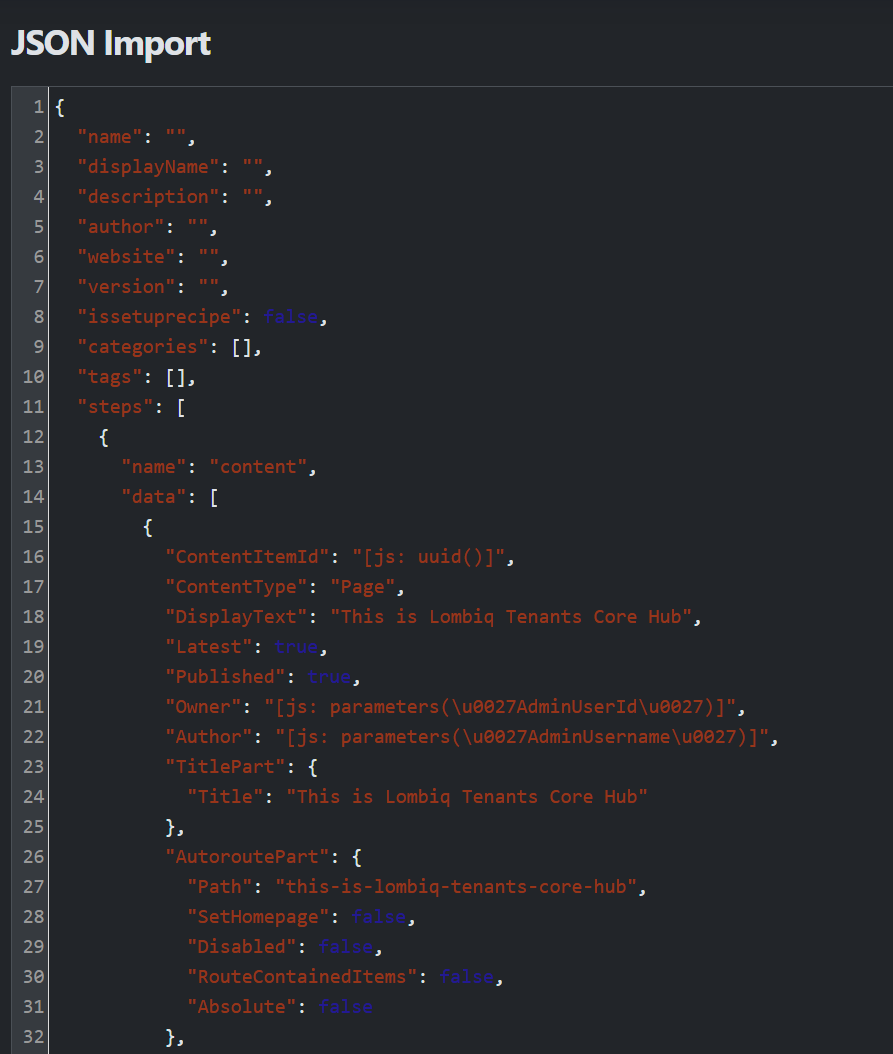
JSON Import: Here you can directly insert your Recipe.json file. You can copy the file's content, or you can also just drag the file there. The content will be visible as JSON and you can edit it before importing. In this example, we used the recipe which was inside the ZIP that we downloaded from “My second deployment plan”.
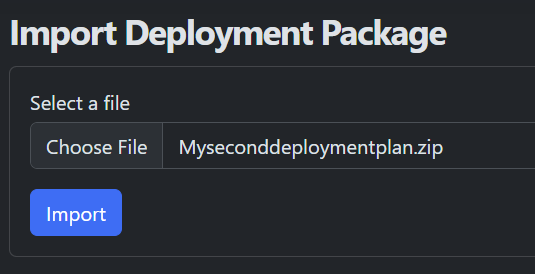
Package Import: Imports a complete package (ZIP file) containing multiple JSON files, media files (yes you can export media files, by adding the Media step), and other resources. So this is best for large-scale site migrations or complete environment setups. You just need to select the ZIP file, then click on “Import”:
In our case, this will throw an error but this is because we already have the two pages (thus the two permalinks of the pages are already in use), but if you import this package in another application that has the Page content type, it will work. But if it doesn’t have the Page content type, you can just add the “Replace Content Definitions” step in your plan, which will also export the content type after you choose it.
But what if you want to import to a remote instance? If you have the Orchard Core Deployment Remote enabled you will see two more options under Import/Export: “Remote Clients” and “Remote Instances”.
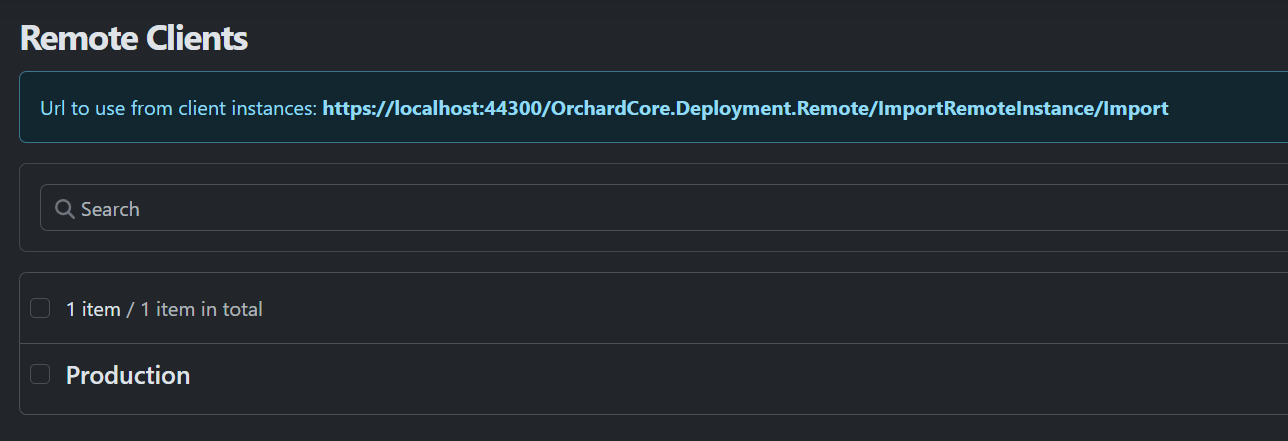
Under “Remote Clients” you can add your remote clients:

You will need to set a “Client Name” and an “Api Key”. This will come from the client app. So for example, if you want to import from staging to production, you will need to go to production and create the client.
After that, you can enter your staging site, and under “Remote Instances” you can add the instance.
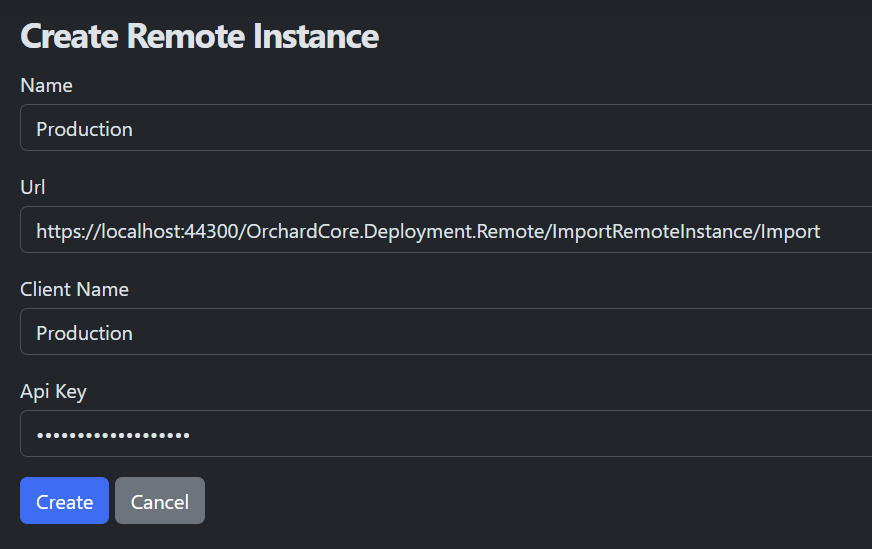
You will need to set a name (it’s just for display and can be anything) and a URL (which can be copied from under “Remote Clients” for example in your production app if you are importing to production).
Then you will need to set the client name and the API key. These are the ones that you set first in “Remote Clients” in the other app.
After that, the instance will be available as a target when exporting something (so it would be imported right into the target).
Returning to the example at the beginning:
Let’s say you manage multiple sites for clients. You might have a standard set of content (like sample blog posts, landing pages, or settings) to help clients get started.
With Orchard Core Deployment, you can create the “template” of these sites, with the necessary items and settings, then export them into a recipe. After that, you can send that to your clients. Or Orchard Core Remote Deployment you can even export the recipe right to your clients' app.
Orchard Core’s Deployment features make it easy to move content and configuration across environments or different sites. Whether you're migrating data or synchronizing settings, these tools simplify the process. Want to see these features in action? Check out our tutorial video to learn how to set up and use Orchard Core Deployment features!
Did you like this post? It's part of our Orchard Core Nuggets series where we answer common Orchard questions, be it about user-facing features or developer-level issues. Check out the other posts for more such bite-sized Orchard Core tips and let us know if you have another question!