How to add workflows to an ASP.NET Core app - Orchard Core Nuggets
Do you want to send an email, when a form is submitted? Perhaps delete a content item after a certain amount of time? You don't want to write complex codes? Look no further with the Orchard Core Workflows feature you can achieve these, without writing any code. This way people who are not familiar with coding can also easily modify these processes.
Are you new to Orchard Core? It's a great open-source framework and CMS built on ASP.NET Core. Check out the official getting started docs.
Workflows in Orchard Core can be a powerful tool. A workflow is basically a visual script, that consists of two types of activities: Tasks and Events. A Task activity performs an action, for example sends an email, or creates a notification. An Event activity is like a trigger point, it listens for an event and it can activate Tasks. But why are workflows so useful? Here are some examples of what you can do with workflows:
- Automatically assigning a role to a user based on their input from a registration form.
- Moving content to an "Archived" state after a specified number of days since publication.
- Sending users a weekly email digest summarizing newly published content on the site.
- Sending a reminder to users who have incomplete profile information after a certain period.
This is to name a couple.
Let's see how you can create your own workflow! In this example we will create a workflow that displays a notification, but only for users in the Administrator role.
First, go to Configuration → Features and make sure the Workflows feature is enabled.

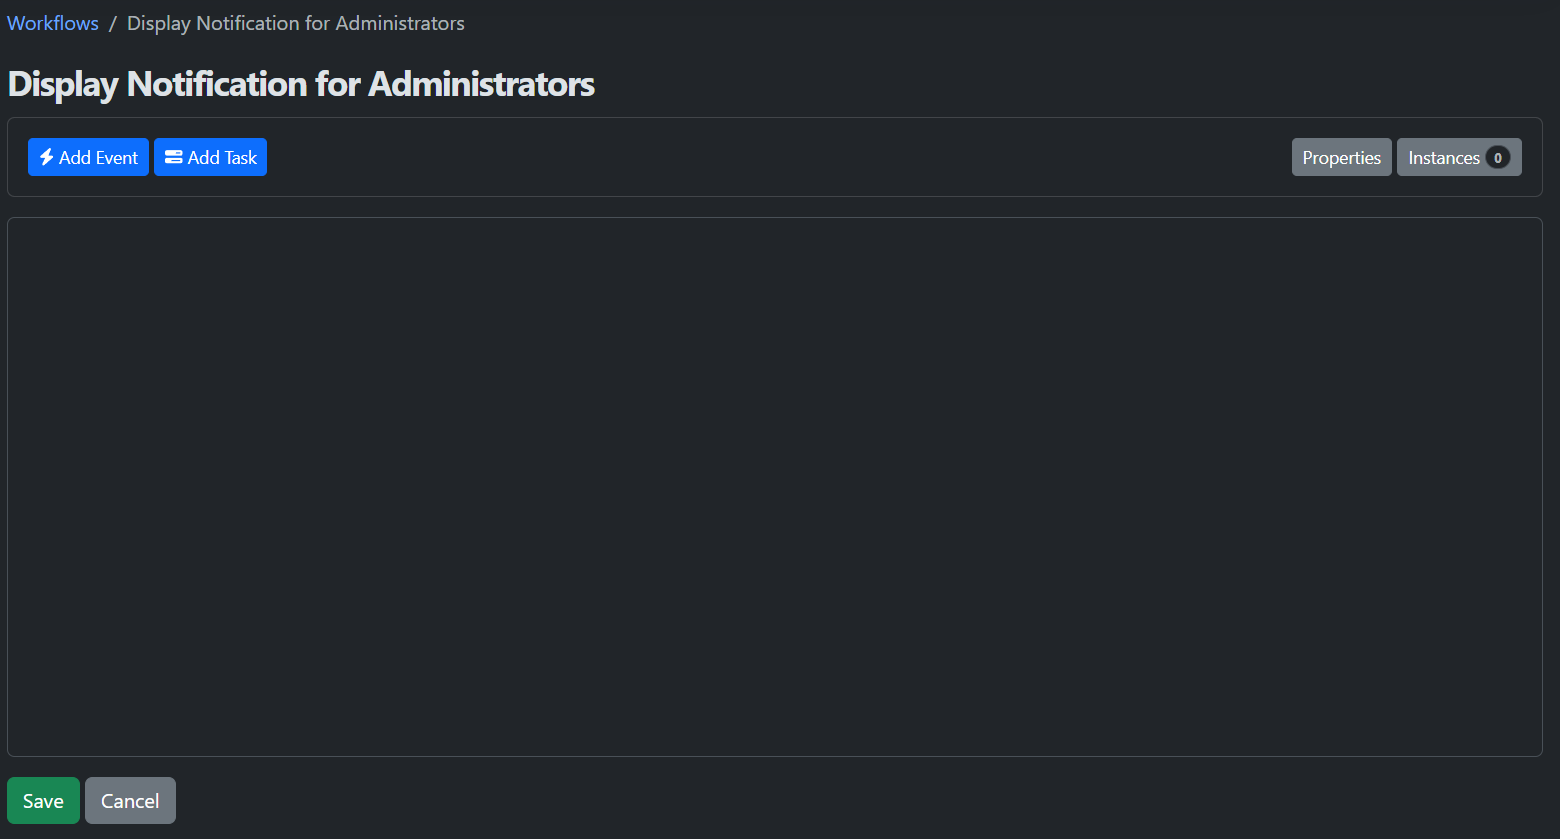
Now you can access the workflows in the Workflows menu point. Click on the Create Workflow button. Name the workflows for example "Display Notification for Administrators". You can leave the other settings as they are and click on Save. Now you will see the dashboard of our workflow.
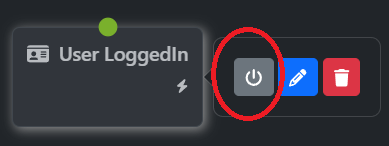
Here click on the Add Event button, so our workflow will have a starting point. Select the User LoggedIn activity, you can give it a title but it's not necessary. To make this your startup event, you will need to click on the event and then on the Startup task button. After that, the event card will turn green.
Now let's add a task. Click on the Add Task button and select Validate User, as the description says it checks if the user exists for the current request and has the specified role(s)". When adding the task select the Administrator role in roles. Also select Set the 'UserName' workflow property if the user is authenticated. Okay, there is a starting event and a task, but how do we connect them? It's pretty simple: grab the green dot from the top of the starting activity and drag it to the task.

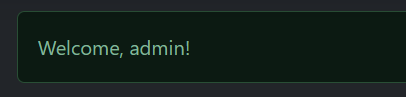
We only need one more activity a task that displays notifications. So click on the Add Task button once more and select Notify. For the notification type let's go with Success, the message could be anything, but since we have the username from the previous activity, we can personally welcome the user. You can use Liquid syntax, just like this "Welcome, {{ Workflow.Properties.UserName }}!". After saving it, the only thing left to do is to connect the InRole dot from the top of the Validate User activity to the Sucsess Notification activity. In the end, your workflow should look something like this:

Save it, then you can log off and log in with an admin user and see the results:
That's it! You can modify this workflow how you want, add more events or tasks and based on this tutorial create your own!
Did you like this post? It's part of our Orchard Core Nuggets series where we answer common Orchard questions, be it about user-facing features or developer-level issues. Check out the other posts for more such bite-sized Orchard Core tips and let us know if you have another question!