This week in Orchard - 10/12/2018
In the current post we would like to summarize you the latest amazing demos about the brand new Orchard Core features!
On Orchard Core
Demos
The Admin Trees module
Matias Molleja has been working on the content tree feature. Now it's the admin menu for everything that can be configured, including content of course. With the Admin Trees module, you can build custom admin menus.
After enable the module you can reach the Admin Trees by going to Configuration -> Admin Trees. You can add a new Admin Tree, call it like Content Items and lists. After that you can add nodes to it. Now we only have three types of nodes (Link Tree Node, Content Types, Lists), but any module can subscribe and add its own nodes. If you add a Link Tree Node, you can define the Link Text as it will be shown in the tree (let it be My Content Items), the URL of the link and CSS classes, if needed.

Now you will have a new menu item, with text My Content Items. You can add different nodes to this menu, like a Content Types node. After that you will see that every content type that you have selected will be shown in the menu. If you want to place the list of the content types under the My Content Items menu, you can just simply pull the Content Types node to the right and without reloading the page, the list will be placed under the My Content Items menu.
You also have the ability to put submenus under the Content menu. To do that, add a new Link Tree Node, called Content. By having the same name as an existing menu (in our case Content) you can simply put your tree under the Content menu.
This module is under development, so you can find the Admin Trees module in this branch.
New Workflow Events to manipulate tenants
Thanks to Antoine Griffard now you can select between more activities when you are creating a workflow.
If you add a new task to your workflow, you will see a new category in the list of available tasks, called Tenant. Here you can select between four difference types of tasks: Create Tenant, Enable Tenant, Disable Tenant, Setup Tenant.

By choosing the Create Tenant Task you can provide every important property that needed to create a new tenant, like the Host name, the type of the database etc. You can specify these values by Liquid, so the Name of the tenant to create could be:
{{ Request.Form.SiteName }}

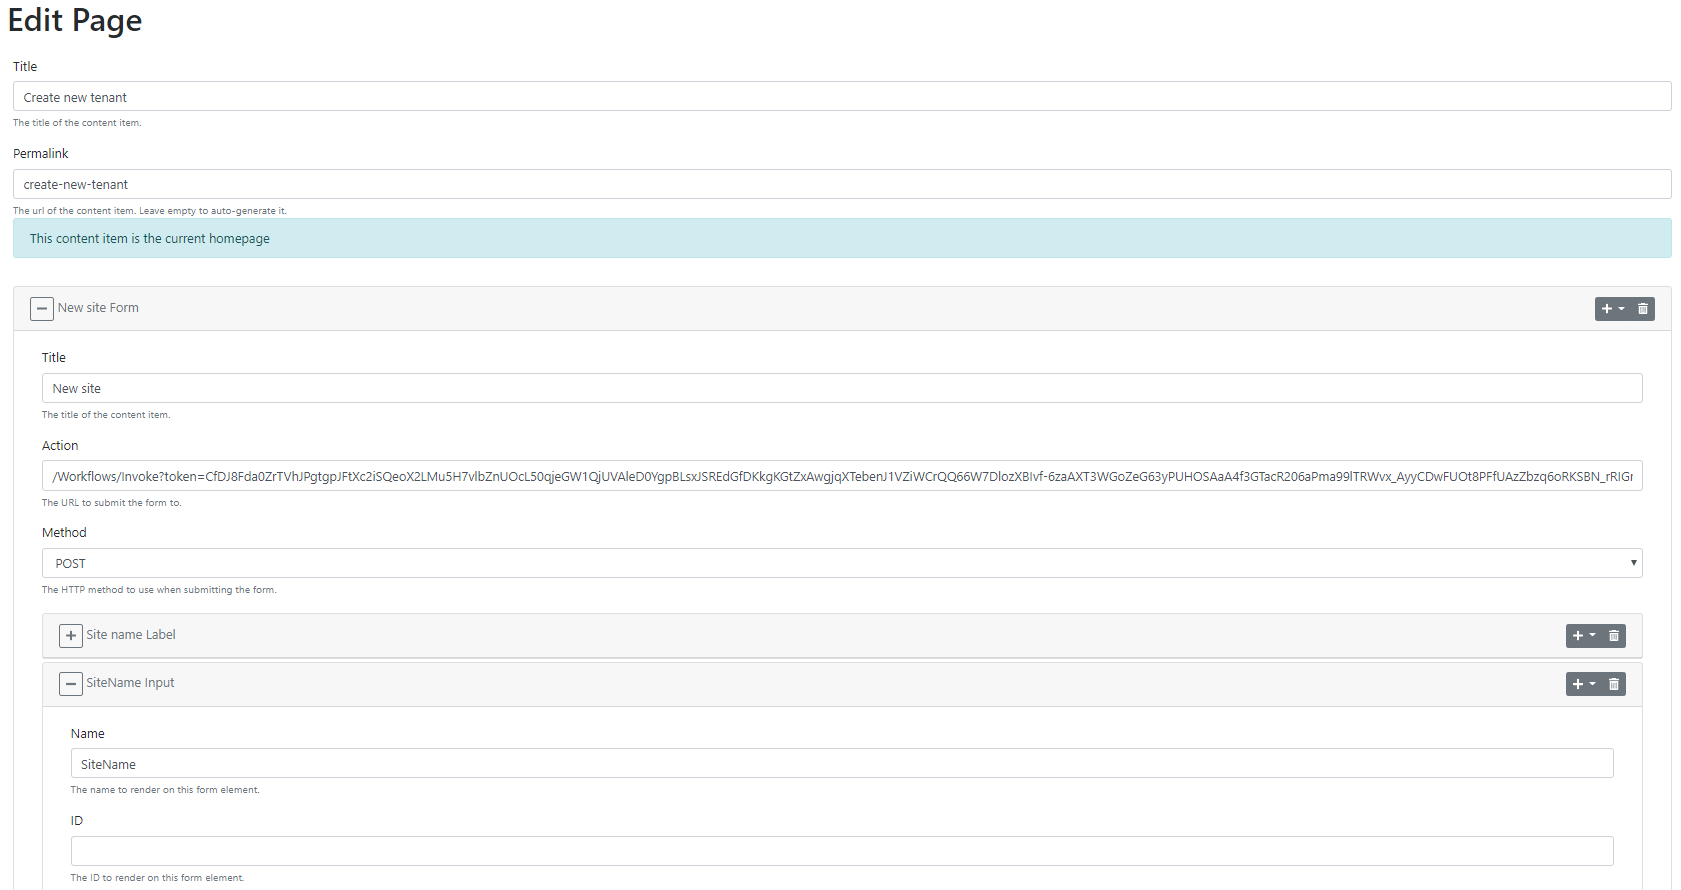
In the following workflow, we will create a new tenant when posting to a URL provided by a HTTP Request Event.
To call the starting Http Request Event of the workflow, we need to post to a given URL. To do that, you can just create a new page and add a new Form to that. Here you can specify the URL to submit the form to, that will be our URL copied from the Http Request Event. By adding input widgets to our form, we can provide an interface to the user to set the values of the new tenant. Here you can add an Input with a SiteName name that we used previously in our Create Tenant Task.
This module is under development, so you can find the new activities in this branch.
One of the goals of this module is to be able to do a workflow, where users can create and set up a tenant.

Don't forget to check out the recording of this week's Orchard Podcast for the full demos! There you can also watch short presentations about the improvements of the Taxonomies module (Sébastien redid the module, but for now by not using the BagParts.) and the impored queries using a full Query DSL.