This week in Orchard - 9/28/2018
Check out our current post for a 2-hour long demo about how to add a new SaaS module for Orchard Core!
On Orchard 1.x
Styling the Orchard Tag Cloud so it looks like a cloud, not a list
Robert Wray published a new post to his site about styling the Orchard Tag Cloud so it looks like a cloud, not a list.
On Orchard Core
Demos
Predefined list, a new editor for the Text Field
Now if you add a new Text Field to a content type, you have the option to choose the Predefined List type for the editor. In the Options textarea, you can predefine the allowed values using JSON.
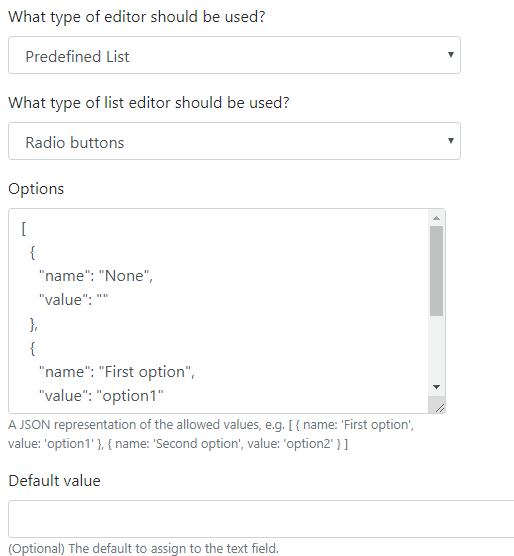
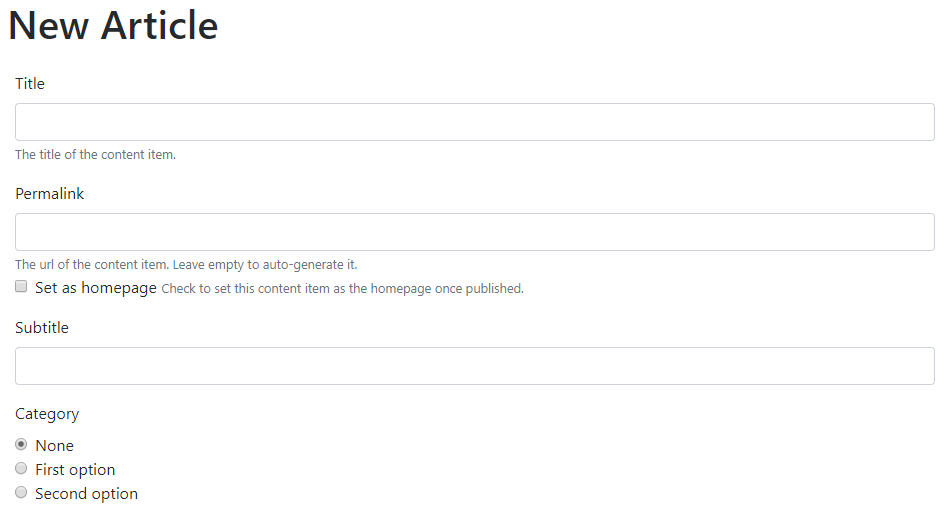
In this example we added a new Text Field to Article that has a Predefined List-typed editor. On the editor page of the Article content type you could see the Category Text Field that has the predefined options. It's a radio, but you can also choose the display to use a dropdown. See that we have one option with no value. We also haven't provided anything for the Default value.
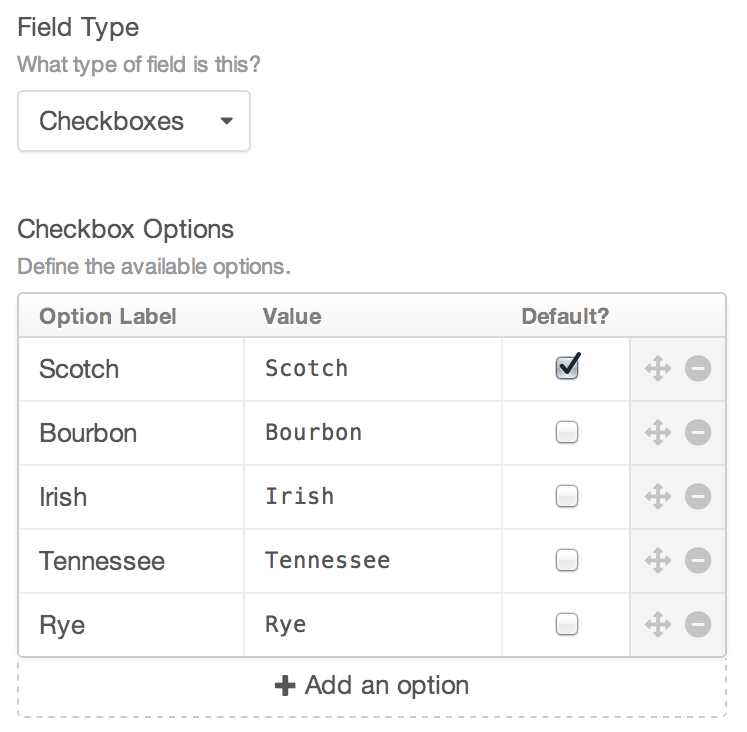
Setting the options by using JSON is not the best solution, so in the future we could define the available options as you can do it in Craft CMS.
You can watch this demo and many other improvements in the recording of the latest Orchard Podcast!
Implementing a SaaS module in Orchard Core
Last Friday Sébastien showed us how to implement a SaaS module in Orchard Core. In the next few lines we would like to give you a short recap based on the 2-hour long video, that you can also find on YouTube!
The concept
The goal is to create a simple vertical application with a dedicated recipe. Take a look at Fabrik.io! Here the users can register and after a simple registration they can create their own sites (like in the case of DotNest as well). So the first step is to design the process how users can manage their profiles. This workflow could be a good one:
- User goes on the front page.
- User enters his/her information.
- User receives an email, and clicks the link to confirm the email address.
- User is registered in the default tenant.
- The site is created, and an email is sent with the URL of the site.
We could also add other options for the users, like they could manage their information, profile and payments in the main tenant, on the front-end.
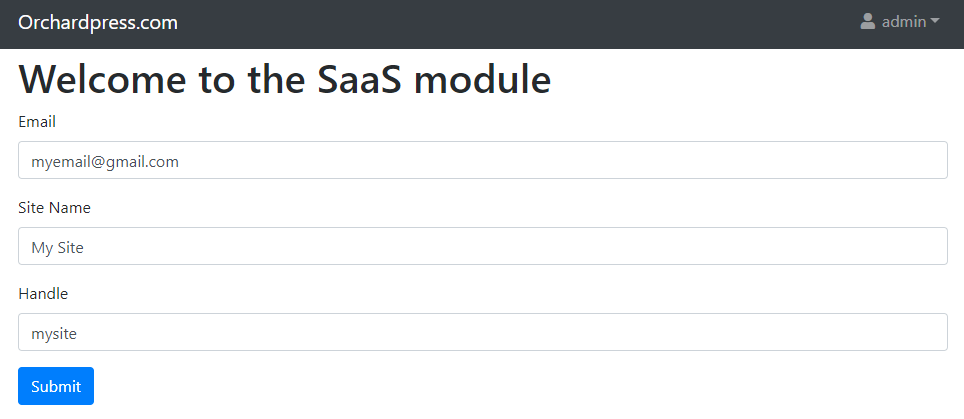
In our demo users can enter an email address, the name of the site and a handle. After that they will get an email with a link that will create the site. If they click on the link, Orchard will create the new tenant and redirect the user to there.
Create a new module in Orchard Core called OrchardCore.SaaS
An easy way to add new module to Orchard Core is just to take an existing one from the OrchardCore.Modules folder and copy all of its content with a folder name that you want to add to your module. Then change the name of the csproj file. After fire up Visual Studio and Add an existing project to the OrchardCore.Modules folder which will be our new renamed project file.
But you can also create a new module by adding a new Class Library (.NET Standard)-typed project to the solution.
Before building the module don't forget to delete the App_Data folder from the OrchardCore.Cms.Web folder. You also need to reference the new module to the OrchardCore.Cms.Web project.
Add a custom recipe to the module
Pick an existing recipe and copy it to our module's Recipes folder. In our case the saas.recipe.json would be perfect, because we would like to do something similar.
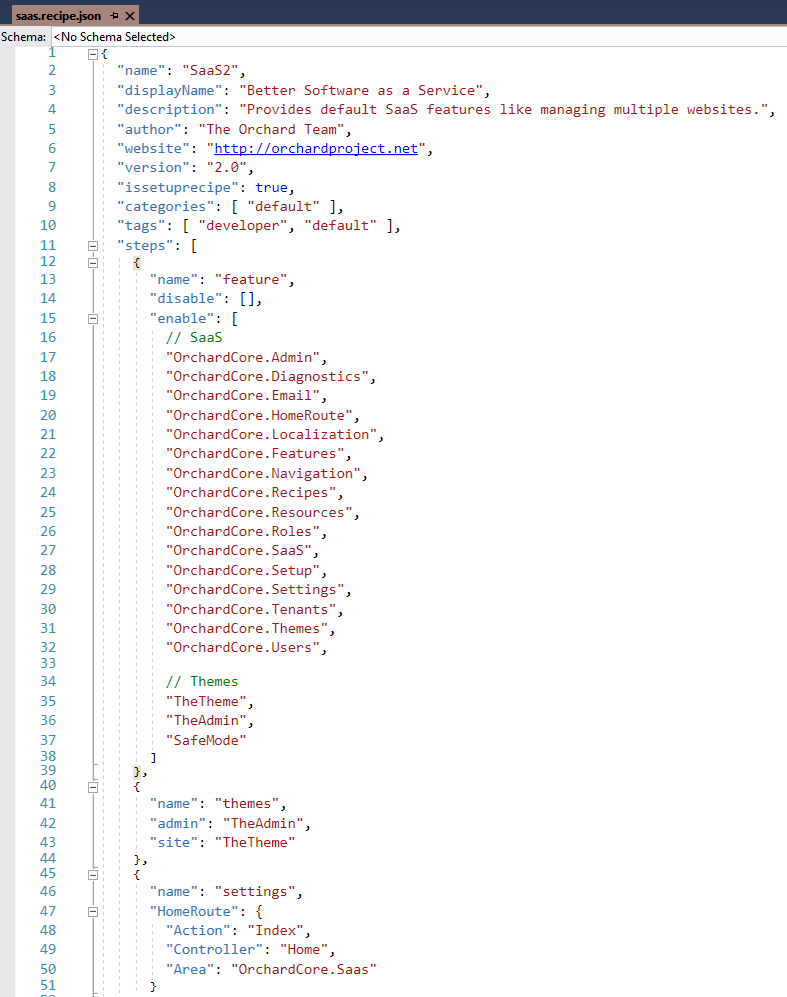
We need to change the name of the recipe (to do not have two recipes with the same name) and enable our module in the line 27 of this recipe.
We also set the home page of our new site by setting the HomeRoute option and providing the route of the selected action.
Implementation
The heart and soul of our module is the HomeController.
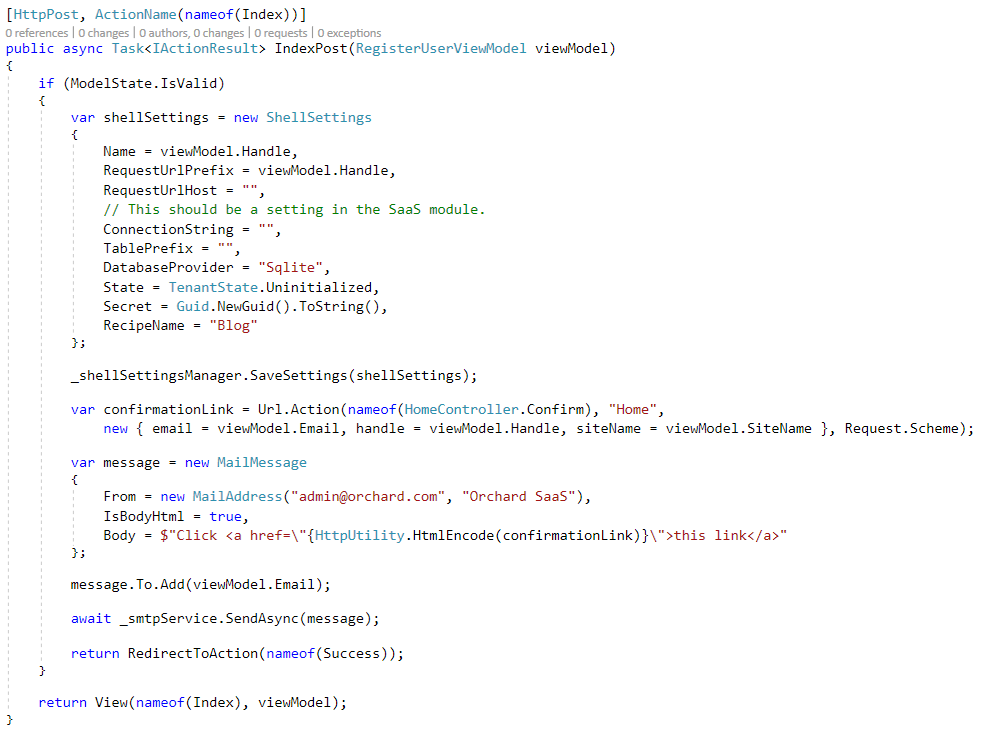
Here we have the RegisterUserViewModel to get the SiteName, the Handle and the Email from the user. If the ModelState is valid, we need to create a new instance of the ShellSettings. Here you have to provide the name, the connection string, the database provider and many other options. As you can see here we set a new tenant with the SQLite database and with the Blog recipe.
The confirmation link in the email will contain every data that the user provided in the home page.

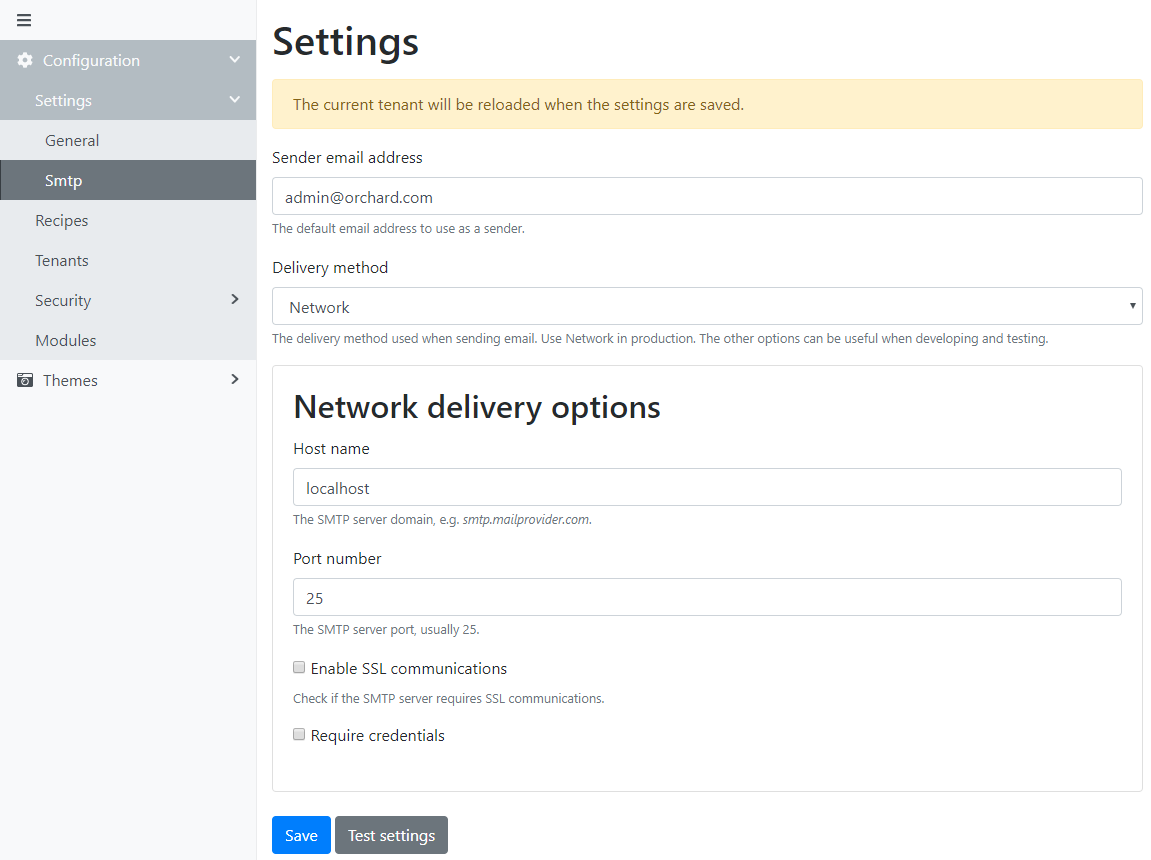
For this don't forget to set up the SMTP settings.
When the user clicks on the link in the email the Confirm action will take in place.
Here we have to create a new SetupContext based on the information from the email, get the ShellSettings and pass this SetupContext to the SetupService to set up the site. You can see that for the sake of simplicity we are using hard-coded values for the username and password of the admin user.
If everything go fine here, we redirect the user to the newly created site by using the value of the handle.

We implemented this module based on Sébastien's demo and uploaded it to a GitHub repository, so feel free to explore the whole codebase of this project!