Google Tag Manager, User Approval feature - This week in Orchard (06/08/2021)
We promised that we will continue showing you the newest features and additions of Orchard Core 1.0 this week too! Well, we still have a lot to write about, so without any further ado, let's get started!
Orchard Core updates
Add user approval feature
The user registration process, whether from the Registration controller, or via an ExternalLoginProvider had no features to moderate a user. In Orchard 1 we could moderate users, through an approval process. A new user registering when moderation was required, would not be logged in to the site, but redirected to the registration pending page, (and workflows invoked, to start the moderation process). We already have the IsEnabled bool, but no way to control both local registration and external registration.
This change adds a UsersAreModerated setting to the user registration feature. When set true all users, whether registering via an external provider, or direct through the registration controller, will require approval, i.e., their account set IsEnabled = true before they are logged into the site. It also prevents external users from being automatically logged in if they have not confirmed their email address (if the confirmation email setting is set to true). Register user workflow updated to support the feature as well. Let's see this one quickly in action!
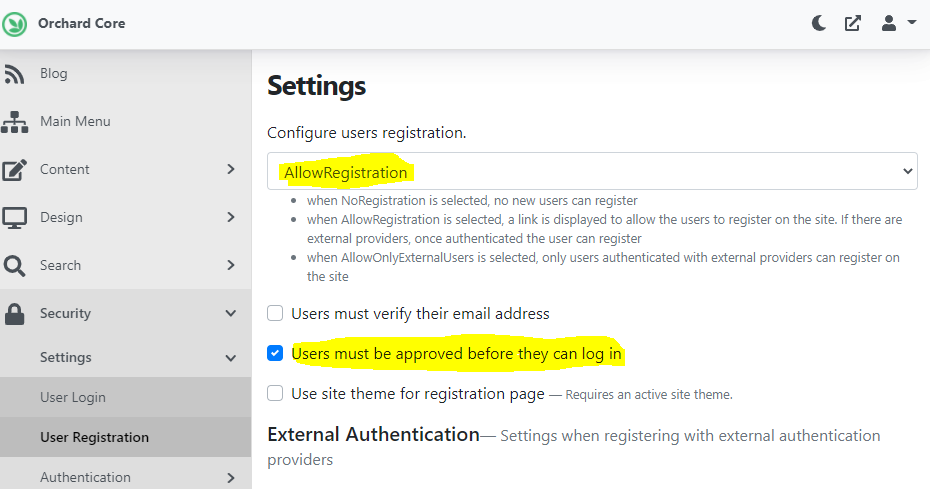
First of all, you need to enable the Users Registration feature that allows external users to sign up to the site and ask to confirm their email. Now you can head to Security -> Settings -> User Registration, where you will see a new option: Users must be approved before they can log in. Put a tick in this checkbox and, don't forget to select the AllowRegistration option from the select list.
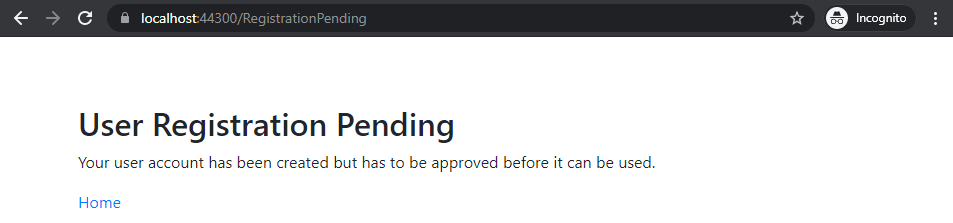
Now, let's register with a new user! If you create a new account and hit the Register button, you will find the following screen meaning that an admin needs to approve your account before it can be used.
Let's see how you can use this one in workflows! Navigate to Workflows -> Create Workflow, and after you add a name to your workflow, hit the Add Task button. Find the Register User task from the list, and the editor of this task will contain a Users must be approved before they can log in checkbox.

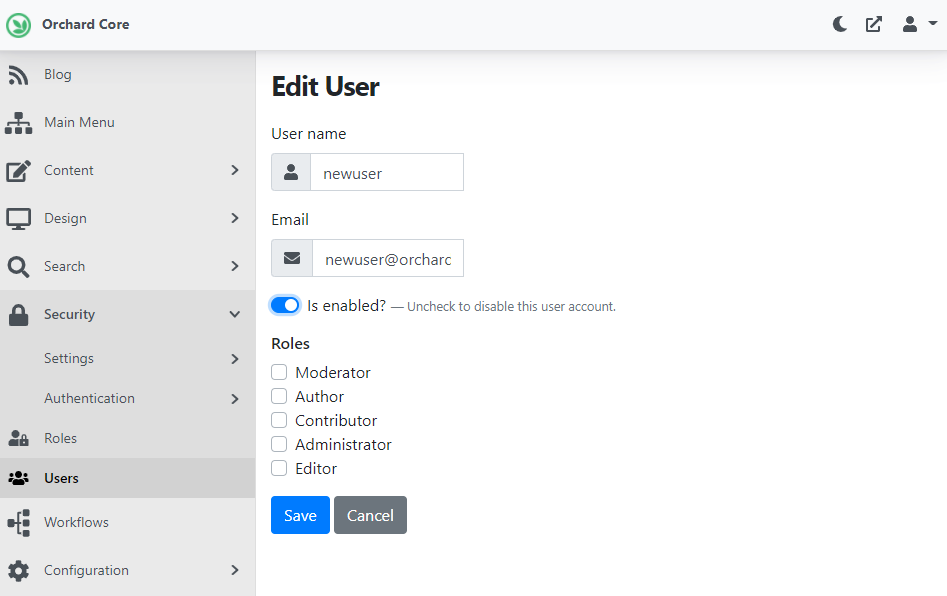
Now let's see how we can approve the newly registered users! If you navigate to Security -> Users on the admin UI, you will see a list that contains all the available users in the system, and you will also find a red badge with a Disabled text near the users who are not enabled yet. If you click on the Edit button near a disabled user, you can simply use the Is enabled? switch to enable the given user. After that, the user with the user name: newuser now can log in.
OpenID Client parameters
The OpenIdConnectOptions support an OnRedirectToIdentityProvider event feature which allows the setting of custom parameters on the protocol message when generating an OpenIdConnectMessage to an external provider.
Sometimes you need to be able to send some custom parameters to some of your tenant's AzureB2C auth servers (but not all, and it varies per tenant).
options.Events.OnRedirectToIdentityProvider = (context) =>
{context.ProtocolMessage.SetParameter("foo", "bar");};
return Task.CompletedTask;
The solution here would be to have editable parameter (kvp) options on the OpenIdConnectSettings so you can configure different tenants to use different custom parameters.
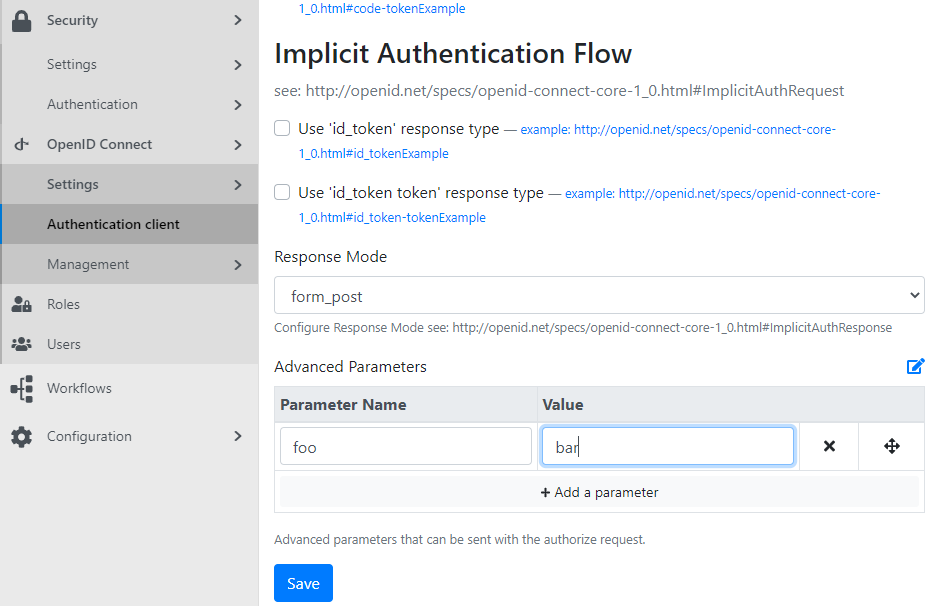
To test this out, you need to enable the OpenID Client feature under Configuration -> Features. After, head to Security -> OpenID Connect -> Authentication client, where you will see the new table called Advanced Parameters.
Google Tag Manager
Google describes its Tag Manager product as a 'Tag Management System' (TMS). That’s an excellent way to think about it. It does for a website’s tags what a Content Management System (CMS) does for its content. The service provides an interface through which to create and track all the tags your site needs.
You no longer have to code each tag manually. Instead, you can create all your tags through the interface. Tag Manager will then implement them for your site. That is if you’ve embedded a straightforward piece of Tag Manager code into each page of the website.
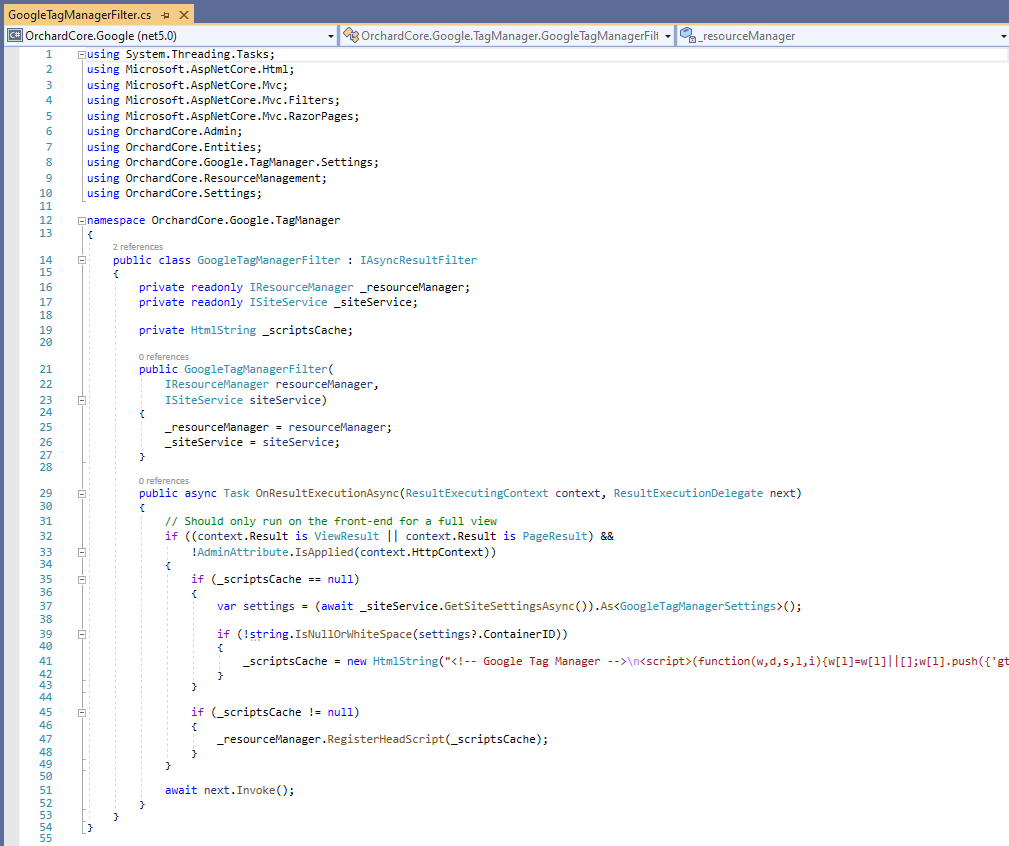
The Google Tag Manager container snippet is a small piece of JavaScript and non-JavaScript code that you paste into your pages. It enables Tag Manager to fire tags by inserting gtm.js into the page (or through the use of an iframe when JavaScript isn't available). But how can we use Google Tag Manager in our Orchard Core site? Well, first of all, you have to navigate to the Google Tag Manager portal and create a Tag Manager account. This will give you a generated Container ID for you to use on your website. Copy this ID, we will need it later!
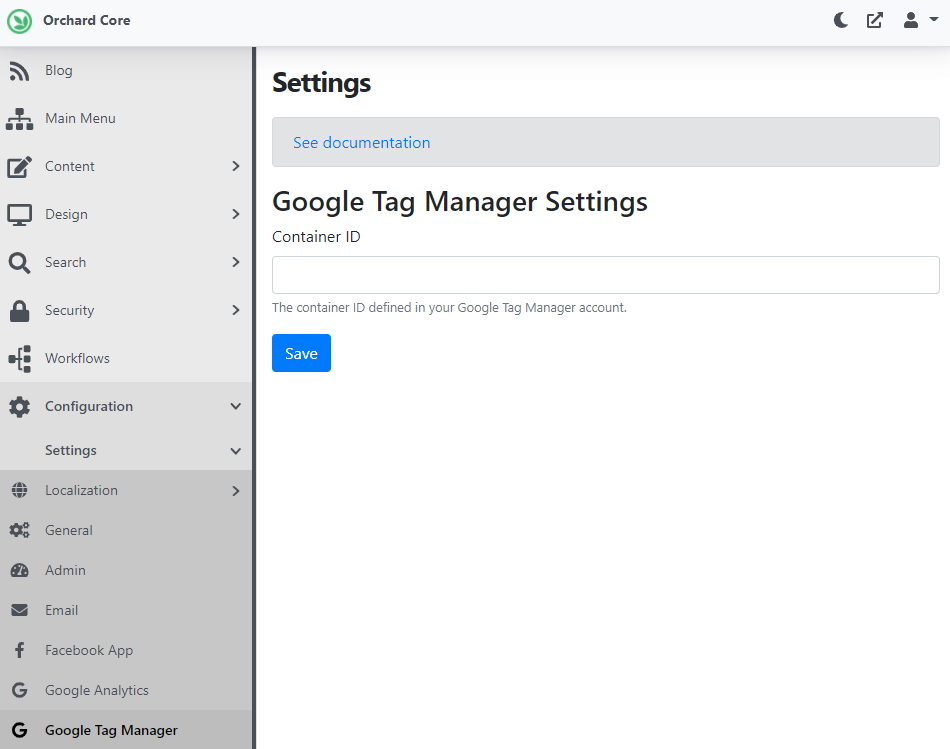
Now, enable the Google Tag Manager feature on your Orchard Core site and head to Configuration -> Google Tag Manager. Paste the Container ID here and hit Save.
This will mean that the required JavaScript code for Google Tag Manager will be registered for every page on the front-end.
News from the community
Updated Orchard Core sites
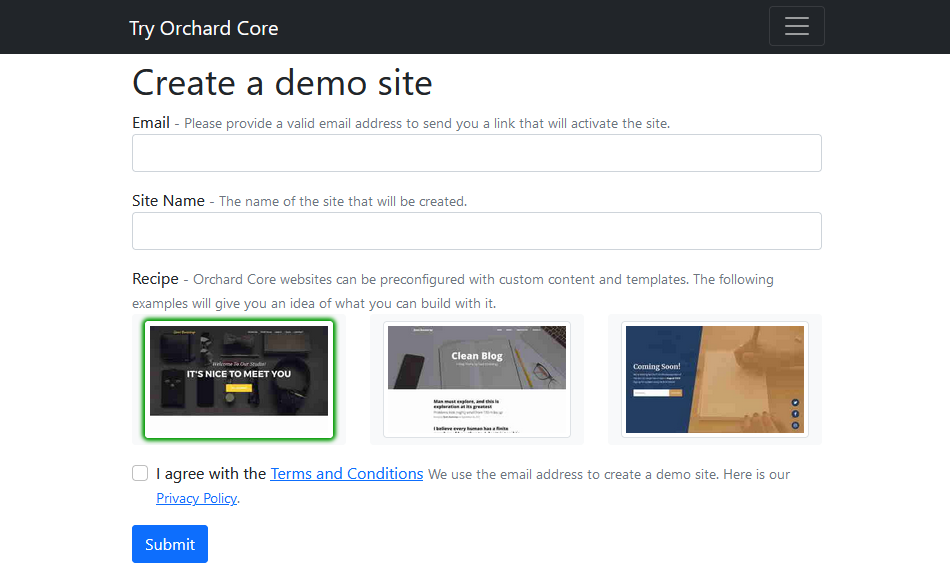
OrchardCore.net is the official website for Orchard Core. Try Orchard Core is the place where you can easily set up an Orchard Core site within a few minutes and try out the features of Orchard Core. Both of these sites have been updated to Orchard Core 1.0! Head to Try Orchard Core to try out Orchard Core 1.0 now!
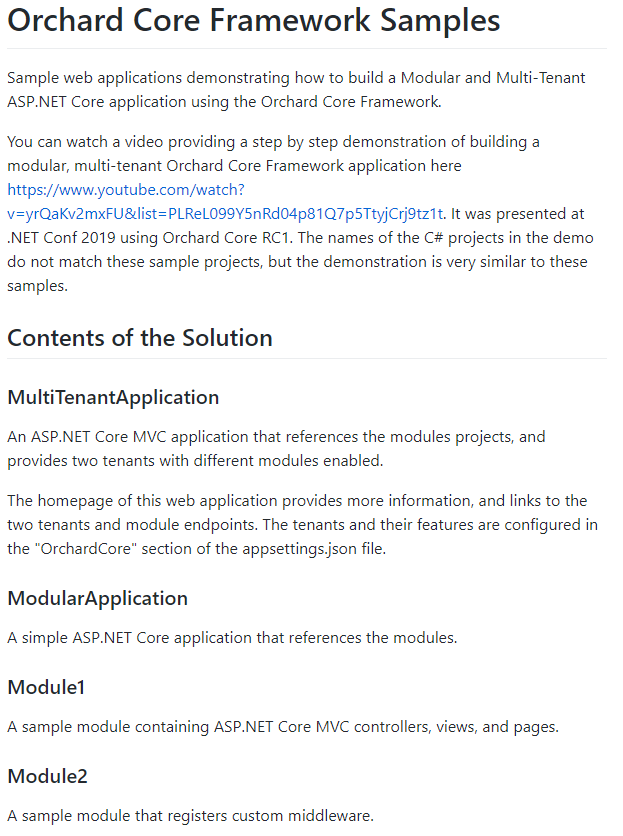
The OrchardCore.Samples repository contains a sample Multi-tenant application and a Modular application demonstrating how to build a Modular and a Multi-Tenant ASP.NET Core application using the Orchard Core Framework. This solution is also using Orchard Core 1.0 now, you should check out this solution to see some nice code examples!
DotNest Core
DotNest Core is a complete redevelopment of the DotNest platform, all on the latest version of Orchard Core. We've been running it with a couple of select few customers for a while now, and it's time to open it up a bit more. While you can't yet just simply create an Orchard Core-based DotNest site, you can sign up for our limited beta here. You'll soon be able to get a fully functional, reliably hosted Orchard Core site on DotNest where you can build your personal website or something to showcase your Orchard skills with.

Orchard Dojo Newsletter
Lombiq's Orchard Dojo Newsletter has 214 subscribers! We have started this newsletter to inform the community around Orchard with the latest news about the platform. By subscribing to this newsletter, you will get an e-mail whenever a new post is published to Orchard Dojo, including This week in Orchard of course.
Do you know of other Orchard enthusiasts who you think would like to read our weekly articles? Tell them to subscribe here!